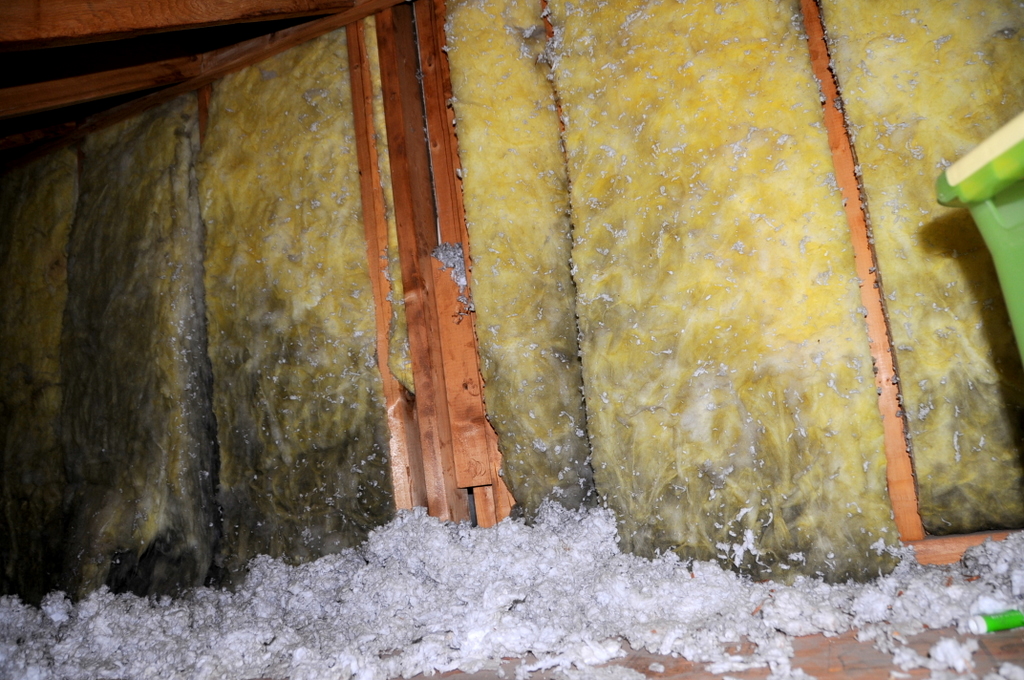
If you’re building a new house or redoing the exterior of your existing home, do yourself a favor and watch this excellent video on exterior insulation. It could save you huge amounts of heartaches and money.
Category Archives: Construction techniques
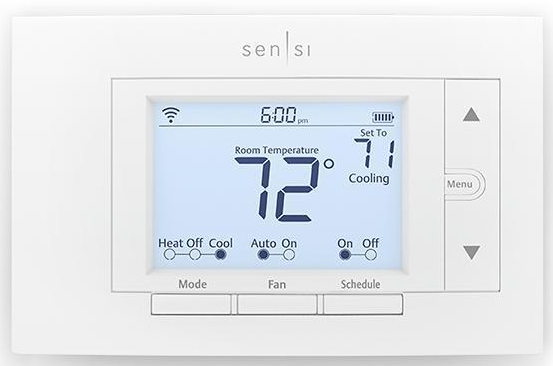
Why can’t they make a thermostat that can keep the house at a constant temperature?
Someone asked me this question, and I live this reality every day. Let’s look at what’s involved!

Each room in the house has its own thermal loss and gain. To simplify, this is directly related to the difference between the indoor and outdoor temperatures. This is mostly true but other effects like sun shining, people, electronic devices etc. all affect the equation. But for now, think of each room as a thermally insulated box losing a certain amount of energy over time when it’s cold out (this discussion applies to air conditioning also, just in reverse).
Continue readingLED Recessed Light Retrofits – Pros and cons
A reader, Adam, recently asked about the pros and cons of using LED retrofits vs. sealing recessed lights from the attic. It’s such a good question that I had to write up a quick post detailing my thoughts on this important topic.
I’ll start by saying that I have upgraded all of the recessed lights in my home with LED retrofits. This has numerous benefits over attic sealing. Prior to good LED retrofits being available, I had constructed airtight/fireproof boxes installed from the attic, so I can comment on both methods from first-hand experience.
The retrofits were easy to do, taking maybe 10 minutes each, at most. These days, high quality retrofits are inexpensive, typically less than $30.
Benefits:
- Totally air-tight when installed properly with a good gasket
- Energy efficient – depending on your electric cost, the light will pay for itself, especially if it’s in a high-use location, like the kitchen. Usually less than a year.
- Energy efficient part 2 – you can insulate the attic properly above the fixtures. LEDs generate much less heat than incandescents. Plus, you won’t lose the heat from air escaping through the housing.
- Long lasting – quality LEDs are rated to last about 2-4 years running continuously. Compare this with an incandescent which has a life only one-tenth as long. This is much more convenient (less time on the ladder is safer too!). For most uses, that means you’ll never have to replace a bulb.
- The light quality of “good” LEDs is very natural if you buy high CRI (color rendering index) fixtures. This is very personal, so compare the light from different fixtures to find one you really like. I brought home several, installed them and then my wife and I could see how they looked in our own homes which is much different than the display case in the store. You can usually return the ones you don’t like, so it’s worth trying a few.
- The retrofit itself is quite simple usually. Most wire into your existing fixture using a screw in connector that replaces the existing bulb.
- Air/moisture leakage through recessed lights are one of the primary sources for mold and rotten roofs. By installing air-tight LED fixtures, you will potentially prevent a very expensive roof replacement and mold remediation.
Challenges with retrofitting from the attic:

A picture is worth a thousand words…
- Working in attics is not fun. It’s hot, dusty and access is often difficult. This makes contractors less likely to do a good job because they’ll be anxious to work quickly and get out of there.
- It can be difficult to mount the air-tight enclosure in the attic given the construction of a typical recessed light fixture. This often leads to compromises that leave gaps, defeating the purpose of an air-tight enclosure.
- Incandescent lights generate a lot of heat. Some older fixtures aren’t rated for enclosure. Usually this isn’t a problem however.
- Covering the fixture with a housing can make insulation challenging. Most contractors are afraid of insulating around fixtures, leading to compromised insulation.
Other considerations:
- Some LED lights are not-dimmable – so make sure to buy the right type if you need them to dim.
- The convenience factor of not having to replace bulbs in high ceilings is worth a lot.
- Make sure the chosen fixture is the right size (4″, 5″ or 6″) for your retrofit. There are also different mounting styles that can affect compatibility.
- Avoid off brands or those without a good warranty. The only trouble I’ve had with LED bulbs/retrofits are with cheap “knock-off” type. My favorites have been manufactured by CREE, which were the pioneers in LED lighting. Phillips also makes quality products.
- You still have to be careful in sealing the retrofits in order to make them air-tight. They need to have a good gasket and be firmly seated to the ceiling.
- The thermal image, below, shows a huge amount of air leakage around a so-called air-tight recessed light fixture. As with all things in home construction, installation is key!
- For best air-sealing, I have used foil-tape to seal the holes inside the existing fixture. Some people claim you need air flow through the fixture for cooling but the fact that these fixtures are built to be air-tight negates this argument.

Air-tight? Not unless installed right!
How Should You Insulate Your Attic?
One of the hottest topics in energy efficiency and building science is “how should you insulate your attic?” Why? Simply put, the attic has more impact on your efficiency and comfort than any other single part of your home!
Let’s summarize why the attic is so important:
- The attic is the hottest part of the house in the summer and is cold in the winter
- Hot air rises up to the attic / cold falls drops into the living space
- Moisture rises and accumulates in the attic
- Central heating/AC systems and ductwork are often in the attic
Heating Systems 101 – Learning the Lingo
She Blinded Me With Science!
One of the toughest things about researching a new heating system is learning the tech talk. Your HVAC company will throw out all sorts of terminology assuming that you understand what they’re talking about. Some might even be happy that you *don’t* understand so they can confuse you and sound like experts. Well, no more!
This post covers the most common terms that you’re likely to run across. I’m sure I’ll miss some or confuse you, so please post questions if there’s anything you’d like clarified.
How to Install House Wrap around a Window
Image
When I head out around the countryside, I am frequently dismayed by all the examples of improper construction techniques. “There’s another house that’s going to rot out in a few years” I think to myself.
So, when I saw this new construction, I did a double-take. Did the contractor actually properly install the house-wrap (Typar or Tyvek) around the window? Amazing!
Let’s look at what they did right:
- They used Typar house wrap which is generally a better product than Tyvek. But installed correctly, each can do a fine job
- They installed the house wrap horizontally in long, continuous segments. This reduces the number of seams, which are potential failure points.
- They used the Typar tape for the seams. This is a little detail that is often missed. The house wrap is slippery material and using the wrong tape on the seams can lead to failure. Only the factory approved brand should be used whether it be Tyvek or Typar.
- *IMPORTANT* They sliced the wrap above the window and installed the top piece over the window’s nailing flange. This directs water properly. 90% of the installations are done without this detail which leads to water getting under the nailing flange!
- *IMPORTANT* They taped the wrap under the nailing flange and over the bottom sill. Again, this is critical for proper drainage. If water gets behind the window, it drips onto water-impervious Grace Vycor then drains out at the bottom flange. Most installers tape the bottom flange to the house wrap which traps water inside the wall.
So kudos to the builder. This home is much less likely to rot out than 90% of the other new constructions!
Generators
While it’s too late for this storm (we’re currently awaiting the full force of hurricane Sandy), I thought the current conditions were appropriate for a post on generators while waiting for trees to fall on the power lines and send our house into darkness…
If you’re thinking about getting a generator, you’ve got some big decisions to make. Let’s start by keeping this simple, then later I’ll review the technical details.
Continue reading
Insulating Basement Crawl Spaces
Crawlspaces – those nasty, damp, moldy spaces under your home that you dread entering. They’re one of the least understood parts of a home and the source of countless problems. In this post, I’ll review some of the worst problems and how to avoid them.
Crawlspaces often have two big issues:
- Water / moisture – leading to mold and wood rot
- Cold / drafty – leading to uncomfortable conditions and wasted energy
How NOT to insulate your house
The other day, I was talking with a friend of mine – an energy auditor who was a builder for decades. The topic came around to bad advice that “experts” give about insulating. It’s something that we both feel passionate about because homes get ruined and people get sick when innocent people follow this bad advice. We both adhere to a similar do no harm philosophy of “if it’s worked for decades as-is, don’t mess it up!”
There’s a science to building and the tighter and more energy efficient you make a home, the more important it is that you do things “right.” It’s like the difference between making a log raft and a submarine. A log raft is leaky, but it’s forgiving because it floats by virtue of the logs. It doesn’t have to be water-tight. A submarine had better be water tight and structurally sound or you’re going to drown and get crushed by the intense pressures of the ocean.
Unfortunately, unlike boats and submarines, homes today are often built in the cheapest way possible, with little regard to physics. Renovations are even worse because people often hire unqualified “low-bid” contractors to do the work without realizing that the few thousand dollars that they save on construction may cost them tens of thousands to fix or even send them to the hospital due to mold or poor indoor air quality.
The problem is, people familiar with building science are extremely rare, as are the chances of finding a builder who knows how to make a healthy, energy efficient home. That’s why you’re here reading this now – you want to learn what not to do when insulating and how to do it right.
Continue reading
Do you wonder why your house gets dusty so fast?
Do you feel like your house is always dusty, in spite of how much you vacuum and clean? Have you tried all the tricks – HEPA vacuum cleaners, air cleaners, taking your shoes off before coming in the house, washing the dog…. all to no avail?
Chances are good that you’re being plagued by a leaky duct and air handling system.
When you have leaks in your ducts (virtually all duct are leaky) dust from the attic gets sucked into the ducts and distributed throughout the house. Even if you have an excellent filtration system on your air handler, the dust can be sucked in from places that don’t get filtered, and blown into your home, usually leaving fine gray dust everywhere.
Before you call in a heating/cooling (HVAC) contractor, there are a few steps that you can take yourself.


